HubSpot allows you to connect your subdomains to it along with its configuration. Connecting subdomains is significant as it improves the search ranking and brings traffic to your website.
This article covers the step-by-step detail of connecting your subdomains to HubSpot and configuring them in an optimal way.
What is a Subdomain?
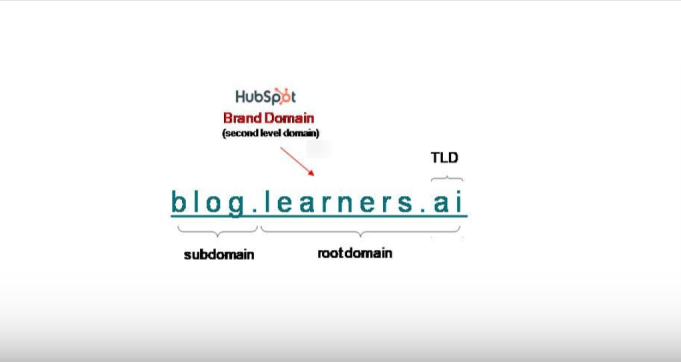
Before we move into the steps of connecting your subdomain to HubSpot, it's important to understand how the subdomain is different from the company’s root domain. The following diagram shows the breakdown of the subdomain, domain, and top-level domain with an example.
-
The root domain includes the main domain and the top-level domain. ‘learners.ai’ is the root domain in this example.
-
The Top-level Domain (TLD) is the suffix or extension of a domain. ‘ai’ is the TLD in the above-mentioned example.
-
The subdomain is an optional addition to the main domain to have more organized content. ‘blog’ is the subdomain in this example.
How to Connect and Configure Subdomain in HubSpot?
This section covers the steps of connecting and configuring a subdomain in HubSpot. The steps are as follows:
-
Click on the gear icon (⛭) in the top right corner of your HubSpot dashboard.
.jpeg?width=655&height=349&name=3%20(1).jpeg)
2. Scroll down to select Domains & URLs under the Website in Tools section from the left sidebar.
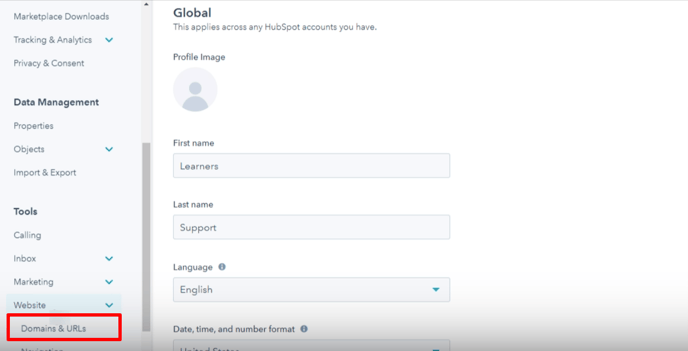
3. Scroll down to select Domains & URLs under the Website in Tools section from the left sidebar.

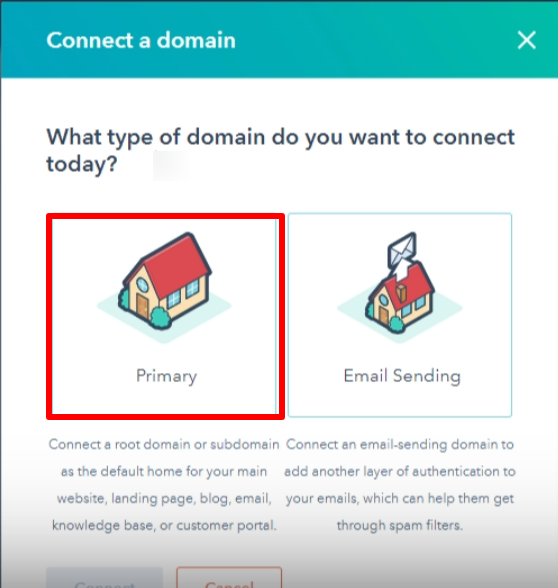
4. Select Primary from the domain type option.
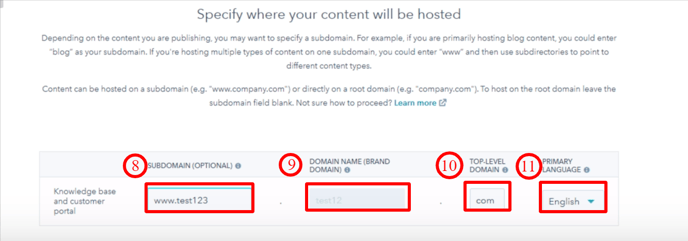
5. HubSpot will ask you regards the type of content you intend to add to the subdomain. The Knowledge base and customer portal have been selected in this case.

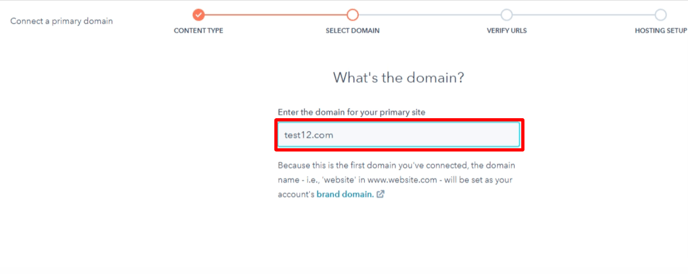
6. If you haven't added the domain before, the domain you enter in the input box will be set up as your brand domain.
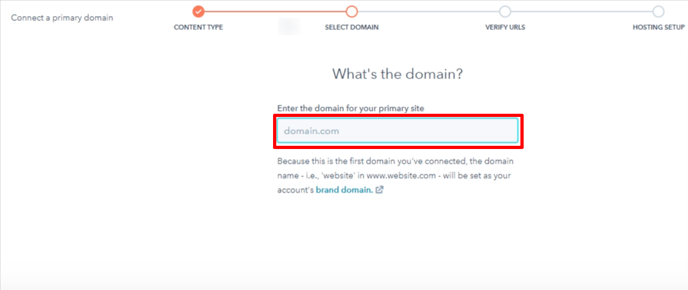
7.Enter the domain in the input box.
8. Enter the subdomain of your choice.
9. The brand domain will showcase here in a non-editable format.
10. Enter the TLD of your choice.
11. Select the language. Note this language will help the search engine know what language your content is written in. It is set to English by default.
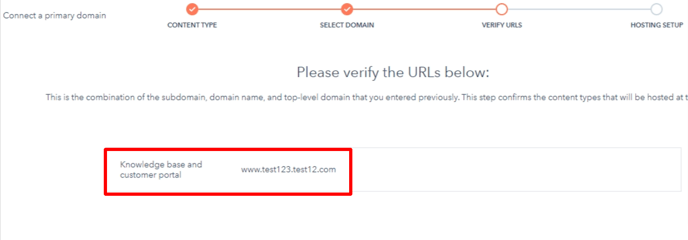
12. The complete URL will display for you to verify. In case of any problems, you can go back and change as required.
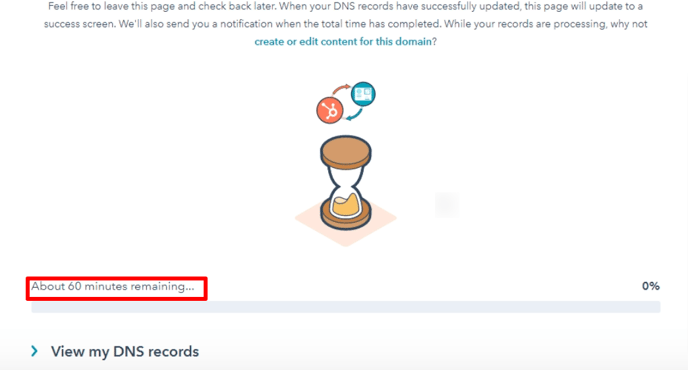
13. The DNS information will be displayed that you need to add to your domain provider. To gain more information about this, refer to Updating DNS Record in Domain Provider heading.

14. It will take some time for your DNS records to update and for the subdomain to be set up.
15. That’s all about it.
Updating DNS Record in Domain Provider
To update the DNS record into your domain provider, you need to update the fields as per the DNS data provided in step 13 of the above heading. For this tutorial, Namecheap is being used as the domain provider. Follow the steps below to update DNS information:
-
Navigate to your domain provider and click on + ADD NEW RECORD button.
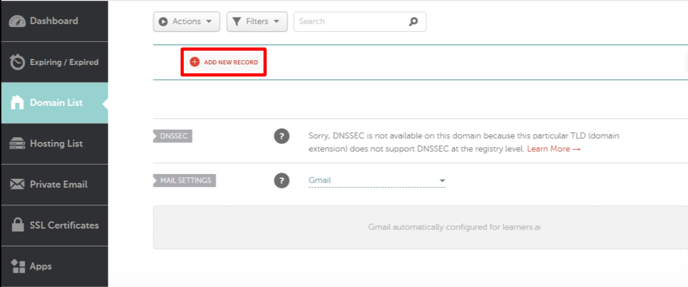
2. Select CNAME Record from the dropdown as the record type.
3. Paste the generated HOST details in this input field.
4. Paste the generated target details in this field.

5. Configure the subdomain and it's done.
Disconnecting the Subdomains
You can disconnect the connected subdomains from HubSpot as well. The steps to do so are as follows:
-
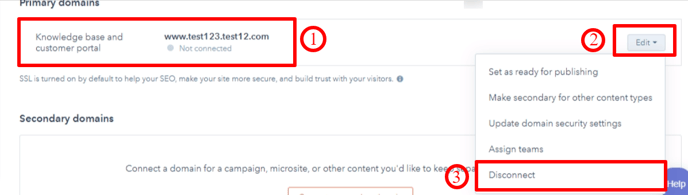
Go to the subdomain you want to disconnect.
-
Click on the Edit button.
-
Select Disconnect from the dropdown.
This was all about what subdomains are, connecting and configuring them in HubSpot, updating DNS records in the domain provider, and disconnecting the subdomain from HubSpot.
In case of any queries, contact Learners.ai.