This article will cover the details of setting up an application on Heroku, creating a HubSpot app, and deploying the app on Heroku using APIs.
Heroku is a comprehensive platform that allows you to build, run and entirely operate applications in the cloud. HubSpot is a CRM that brings together the functionalities of the marketing, sales, and customer service in one platform.
This article covers the following key topics:
- Workflow
- Creating an Application in Heroku
- Deploying the Heroku Application
- Creating an Application in HubSpot CRM
- Linking Heroku and HubSpot applications
- Sending data from HubSpot to Heroku
(Simply, click on the link to navigate to the particular section directly)
Workflow
For this article, we will be take an example of a Web Application that users can sign-up for. This workflow is shown below:
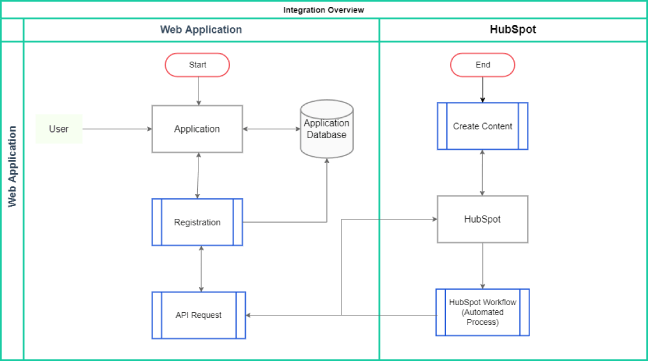
- First of all, the user interacts with the Application by submitting the Registration form where both of these are connected to the Application Database. This form further triggers an API request to the HubSpot.
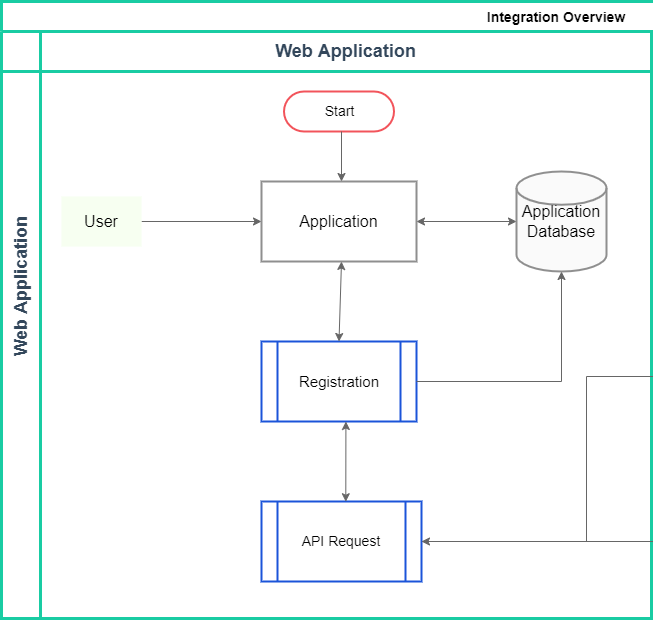
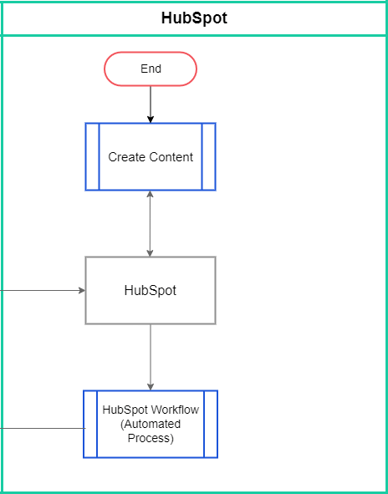
- HubSpot creates a contact, and the details are sent back to the application using HubSpot Workflows to automate the whole process.
Creating an Application on Heroku
This section covers the steps for creating an application on Heroku. In this case, the application has a NodeJS backend and an Angular frontend. Let’s begin:
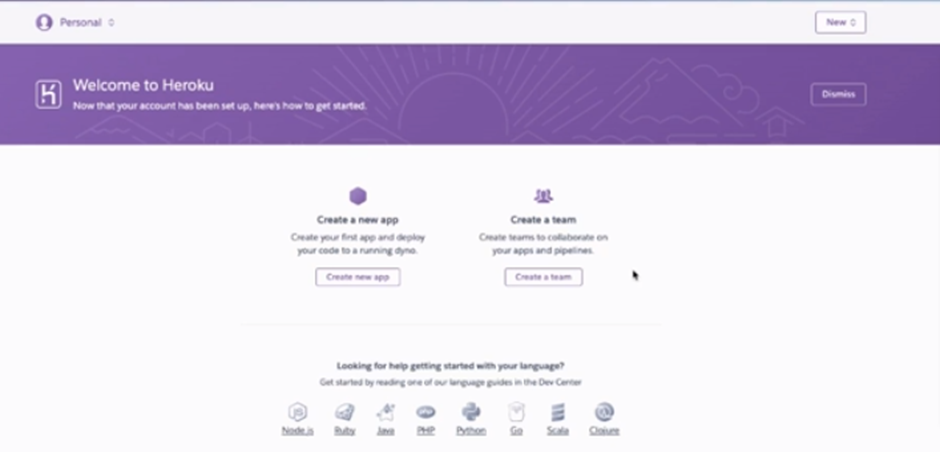
- Navigate to your Heroku dashboard. The Create a team option allows you to set up the collaborators and team members for the application. Whereas, the Create new app is self-explanatory. Click on Create new app.
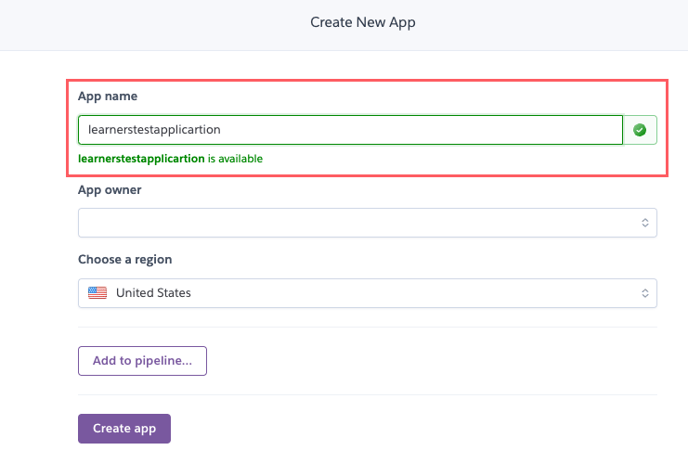
- Enter the App name. Remember, the app name can be lowercase letters and numbers.
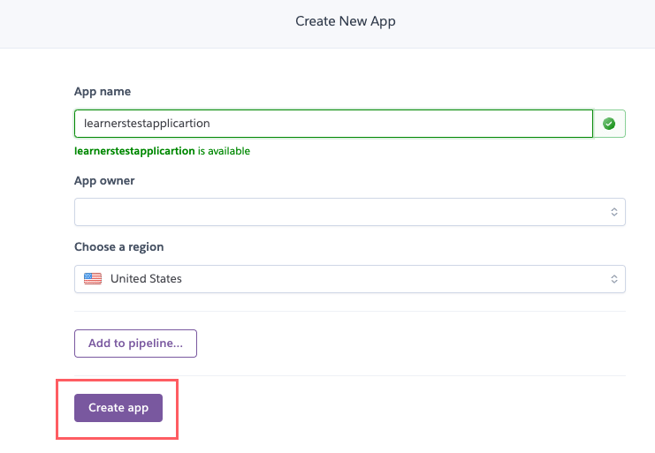
- Click on Create app.
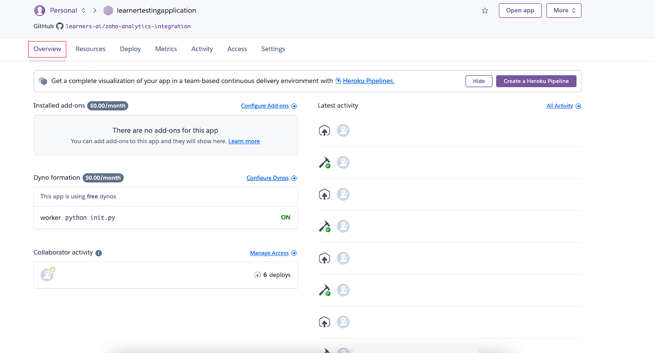
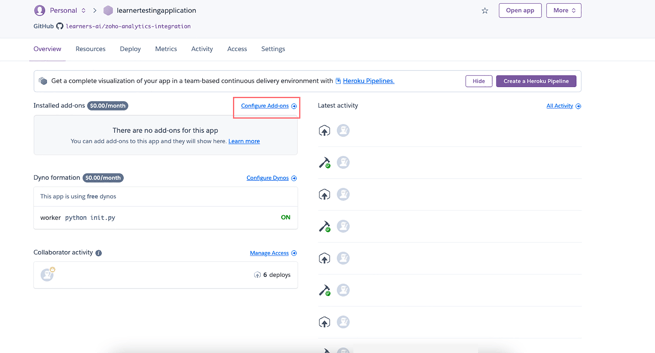
- It will display a dashboard like this:
- Under the Overview tab, you can see information about your Installed add-ons, Dyno formation that are the basic building blocks of the Heroku application, and Collaborator activity.
- Click on Configure Add-ons to access the list of all the add-ons you can choose from.
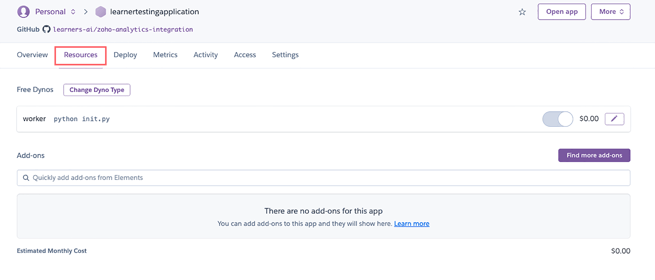
- Under the Resources tab, you can glimpse the details of your application resources, in terms of Dynos and Add-ons.
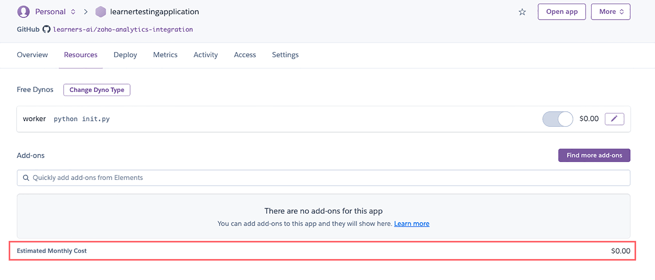
- You can also view your Estimated Monthly Cost which is derived from the selected add-ons.
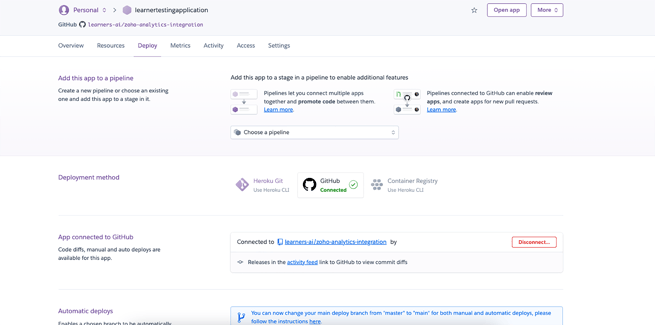
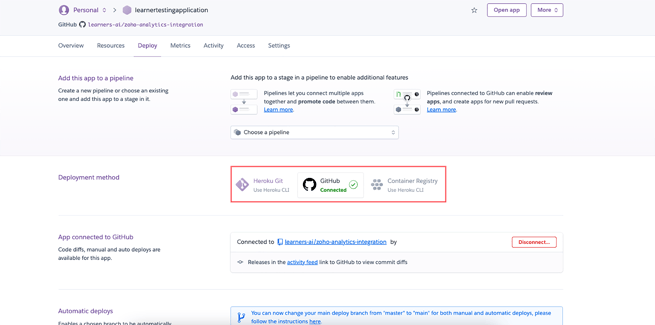
- The Deploy tab covers the details about the deployment process and functionalities of the application.
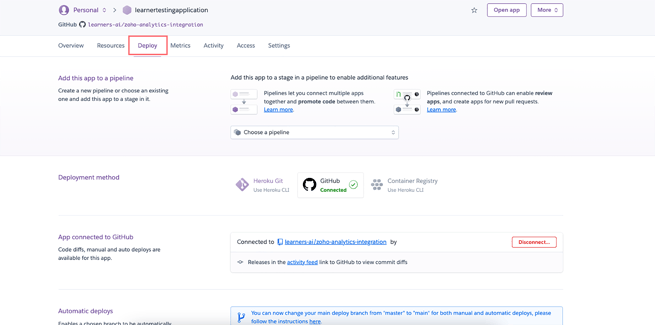
- You can choose from three Deployment methods. The application can be deployed on Heroku Git and Container Registry using Heroku CLI and GitHub by connecting the GitHub account.
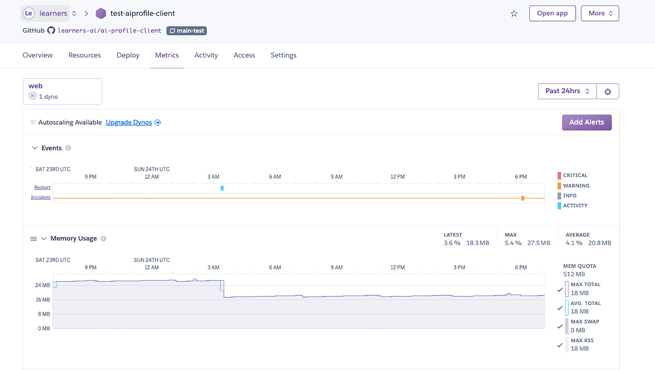
- Under the Metrics tab, you can view the Events and Memory Usage of your application. Note, it will be empty in the case of our newly created application. But, if you navigate to the test app, it will be as follows:
- The Activity tab covers all the updates and notifications you need to receive regards the updates and changes made into the application by you and your team members.
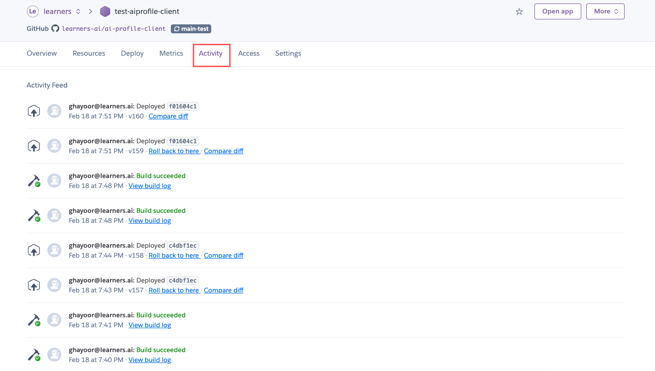
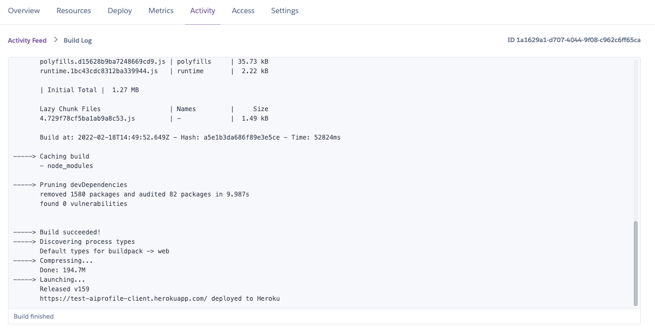
- With each activity, the build log is also generated. You can access it, by clicking on the link of the View build log.
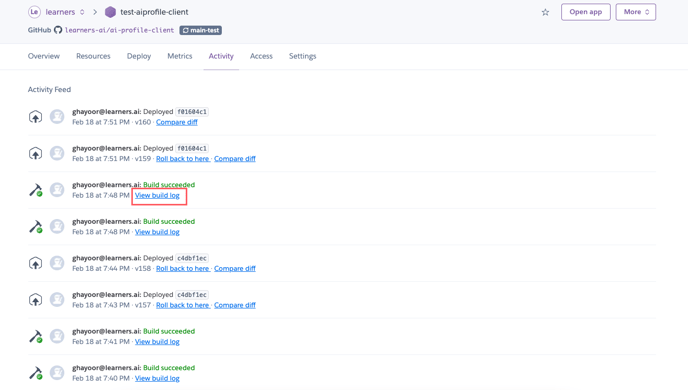
- This is what the Build Log will look like:
- The Access tab will cover all the details about you and your team members’ access permissions.

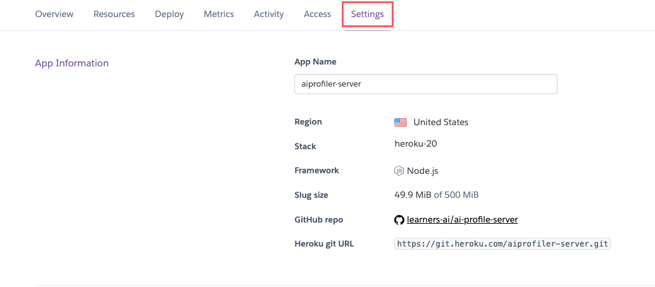
- Last is the Settings tab that contains details like Region, Stack, Framework, Slug size, GitHub repo link, and Heroku git URL.
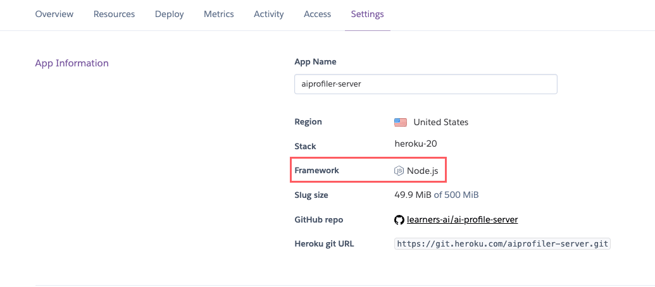
- The Framework is detected based on the application. Note that the newly created application will not have a defined framework as no code has been added yet. But, if you navigate to the test application, you can see Node.js as the detected framework.
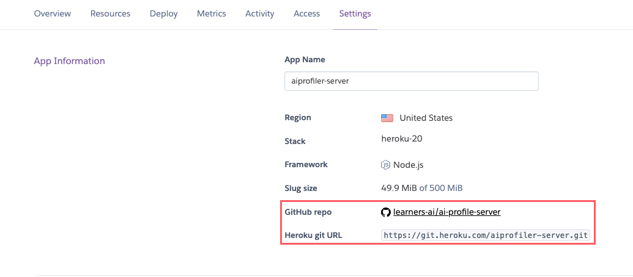
- It will also hold the GitHub repo link and Heroku git URL where the application is deployed.
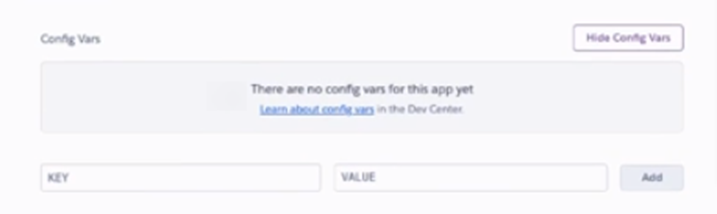
- Below these, there is an option Config Vars. You can expand this by clicking on Reveal Config Vars.
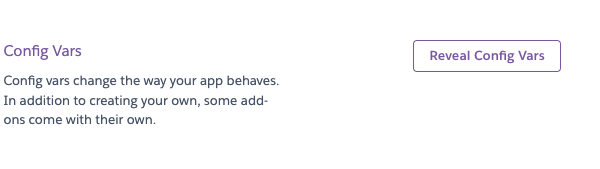
- You can define your environment variables here instead of having an environment file in the application. Also, if you make any changes here, you won’t need to deploy your application again as they are updated automatically.
- Next comes, Buildpacks. These are the scripts that execute when the application is deployed. It helps in starting dependencies and pre-requisites. For example, in the case of our test application, these will be node modules.

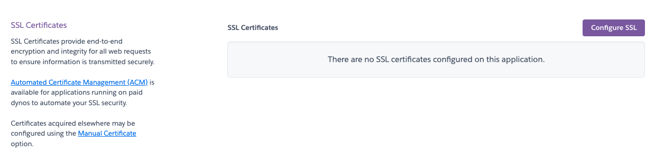
- The SSL Certificates define the certificates that provide encryption and are attached to your application.
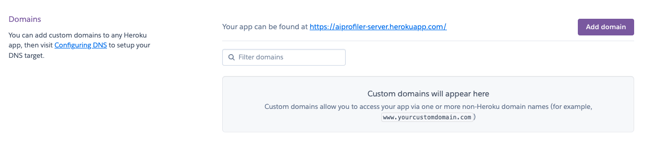
- Lastly, the Domains define all the custom domains of the Heroku apps that are attached to your application.
Deploying the Heroku Application
This section covers the steps of deploying a Heroku application and understanding its functionalities.
- Navigate to Resources
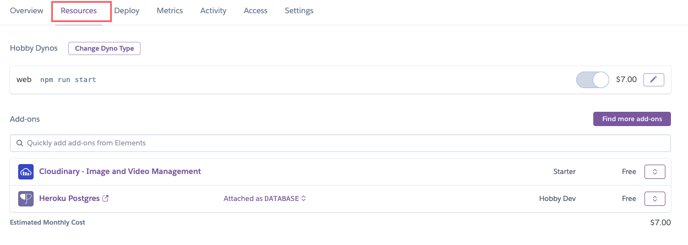
- You can see the Add-ons, which in the case of our test application is Heroku Postgres, which is a database.
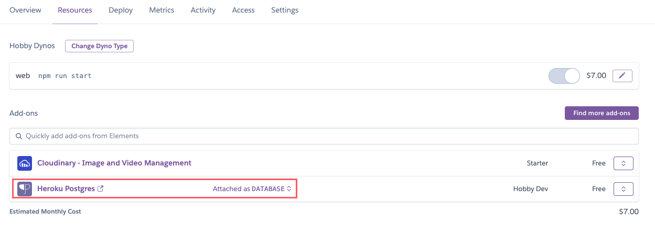
- By clicking on it, you can access further details about it.
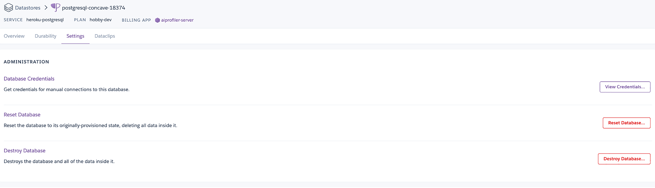
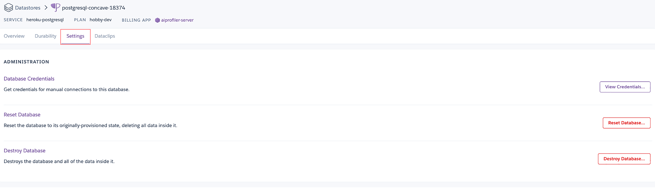
- Under Settings, you can access the Database Credentials that will allow you to connect to your database.
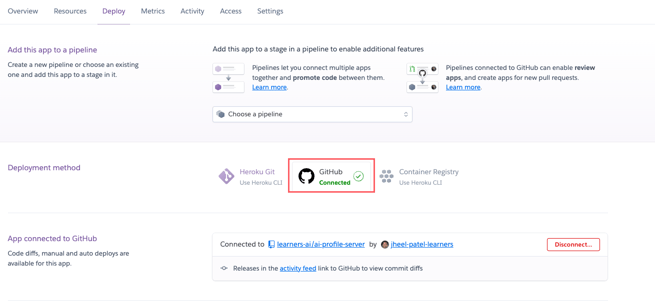
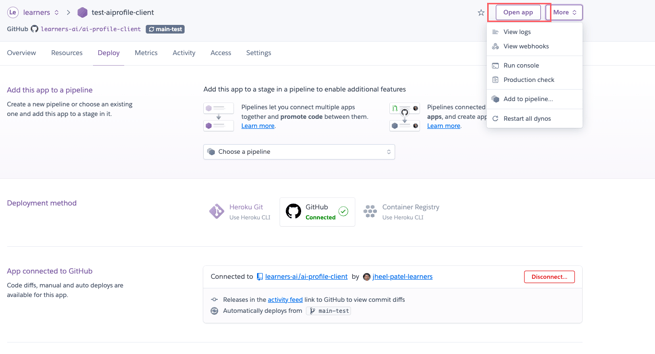
- If you go to the Deploy tab of our test application, you can see that it’s connected with GitHub.
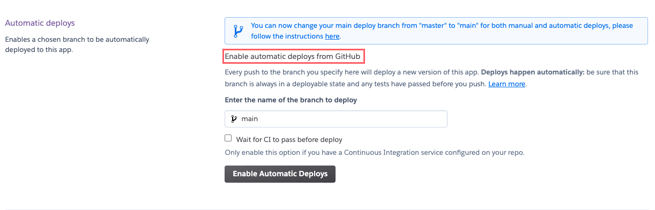
- Automatic Deploy allows you to automate the deploys based on the changes in a specific branch.
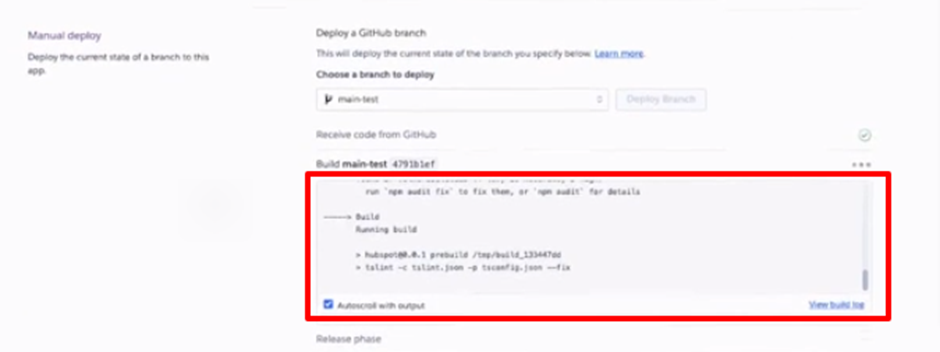
- You can also deploy manually by navigating to the Manual deploy and selecting the branch you would like to deploy.

- Select Deploy Branch and it's done.

- Under the Manual deploy, a build log is generated based on the recent deployment.
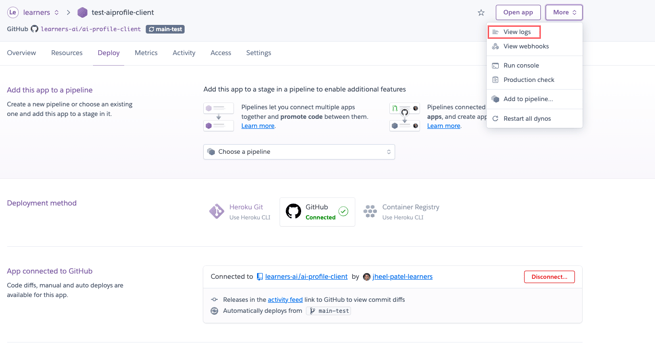
- You can also access these logs by navigating to the View logs from the dropdown of More.
- This is what build logs look like:

- Also, below the logs, you can access the Heroku link of the application.

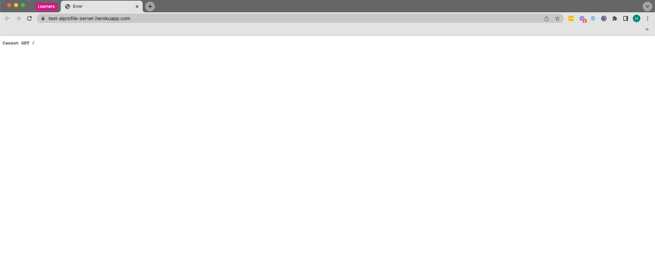
- That’s all. Our app is all set. To view, click on Open app.
- It's all running. Note, you cannot see the GUI as this is the application server, not the front-end.
Creating an Application in HubSpot CRM
In the previous section, we have created the application in Heroku. Now, we will create the application in HubSpot CRM and connect them using APIs and workflows in the succeeding section.
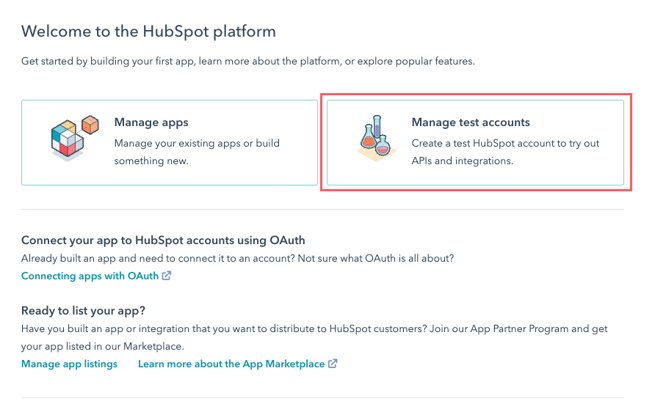
- To create an application in HubSpot CRM, navigate to your Developer dashboard and select Manage test accounts.
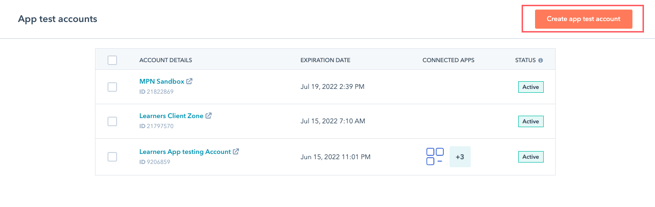
- Select Create app test account.
- Enter the Account name and click on Create.
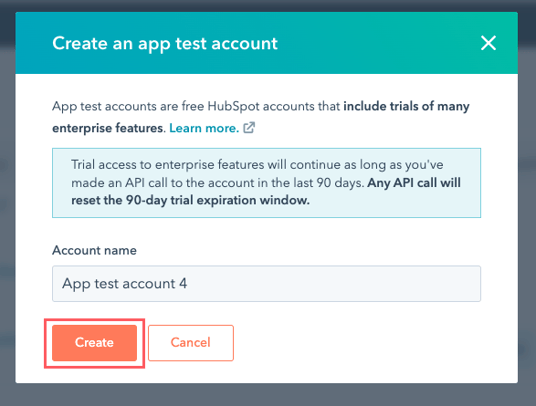
- As you can see, the app is created.
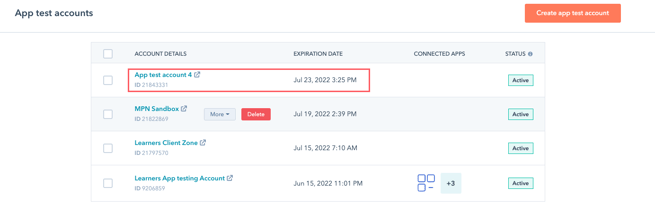
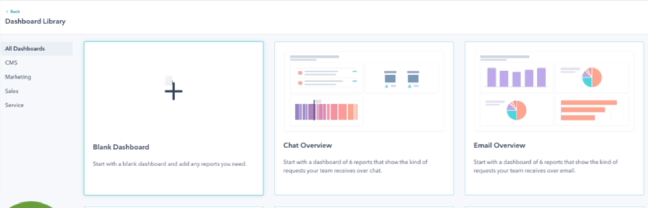
- Navigate to the dashboard.
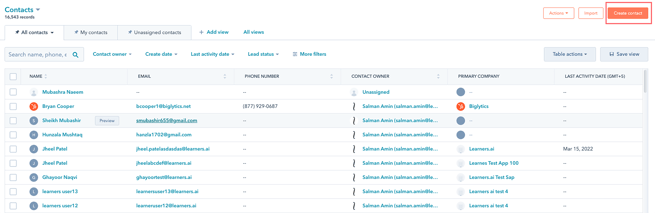
- Select Contacts from the dropdown of Contacts.
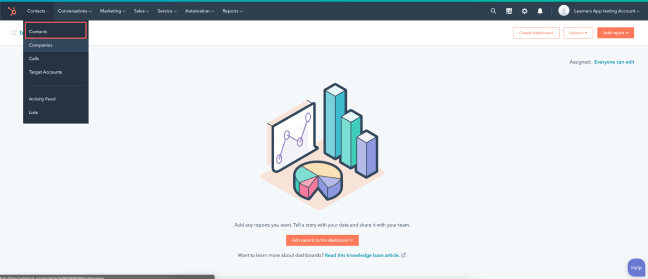
- Here you can see your contacts. You can create a new one by clicking on Create contact.
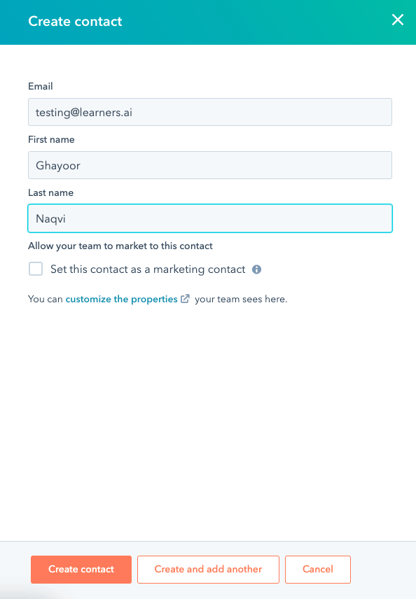
- Write Email, First name, Last name, Contact owner, and additional details. After that, select Create contact.
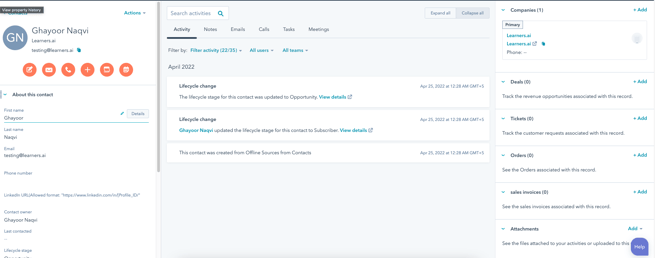
- Contact will be created as follows:
- But this is manual creation of contact. What we essentially want is the automatic process where the contact is created when the user enters data in the registration form. For that, navigate to the sections of Linking Heroku and HubSpot applications and Sending data from HubSpot to Heroku.
Linking Heroku and HubSpot applications
We will use APIs to connect the Heroku to the HubSpot application. The steps are as follows:
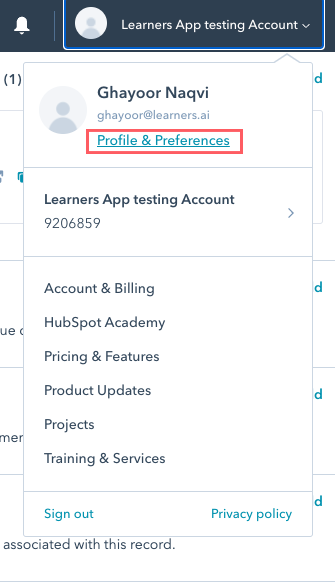
- Click on your profile icon.
- Select Profile & Preferences from the dropdown.
- Under Integrations, select API Key.
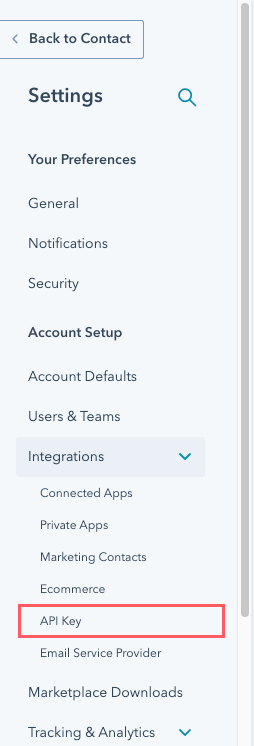
- As you can see, there is no existing API key. Therefore, click on Create key.
- Confirm your API access.
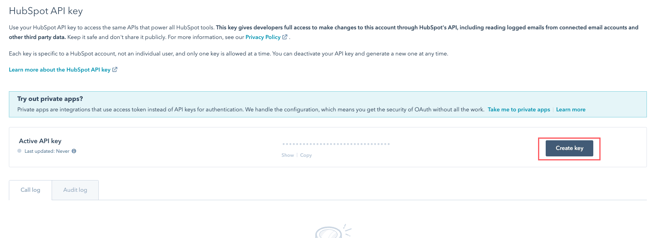
- The key is created. You can copy it by the button below.

- Navigate to the API documentation of HubSpot, and select Create a contact.
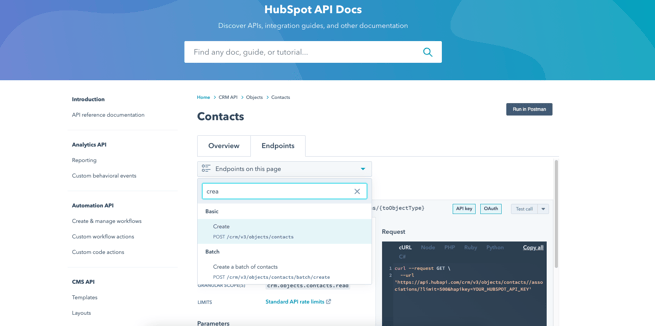
- Here you can access all the details about this API as well as the POST URL. To work with it we will use Postman.

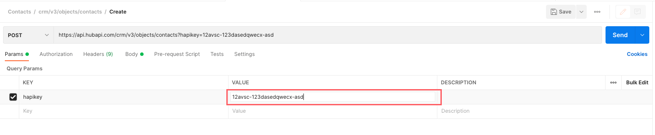
- Select the method as POST and paste the POST URL copied from the API of contacts.
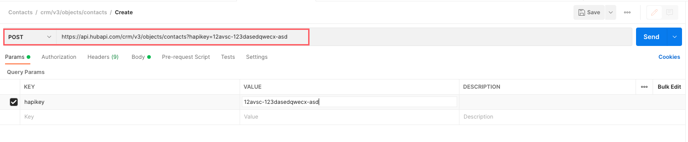
- Enter your API key under the Query Params.
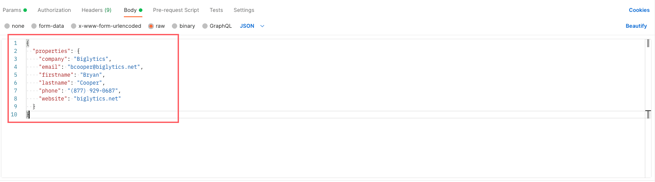
- Under Body tab, select raw.
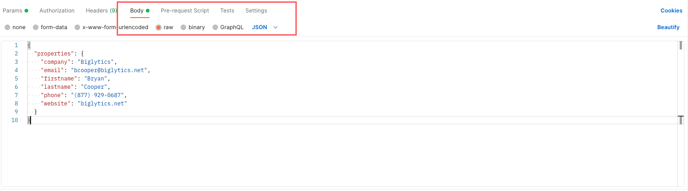
- Paste the body of API as mentioned in the documentation.
- Select Send.
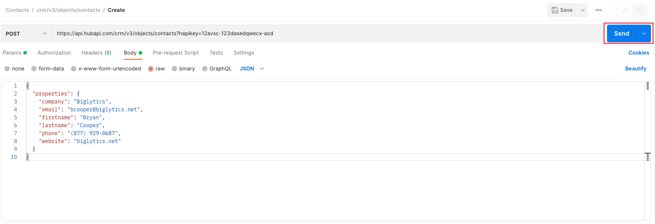
- As you can see, the request has been posted successfully. The 201-status code signifies successful execution.

- By navigating back to the Contacts, you can see the contact sent from the API is created.

Sending data from HubSpot to Heroku
Next, we want to send the information from HubSpot back to Heroku. For that, we will need to create workflows.
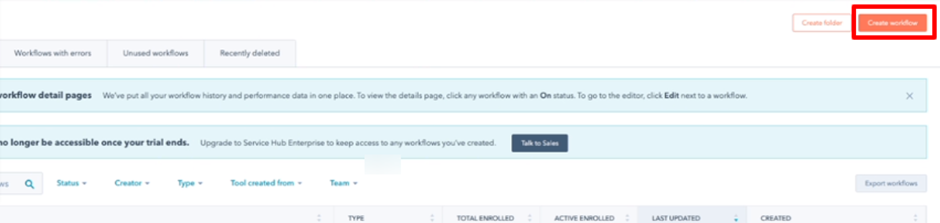
- To create a workflow, select Workflows under the heading Automation.

- Click on Create workflow.
- Select Contact-based from the tab of Start from scratch.
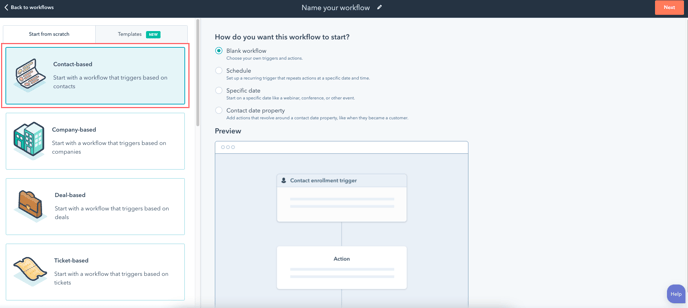
- Click on Next.

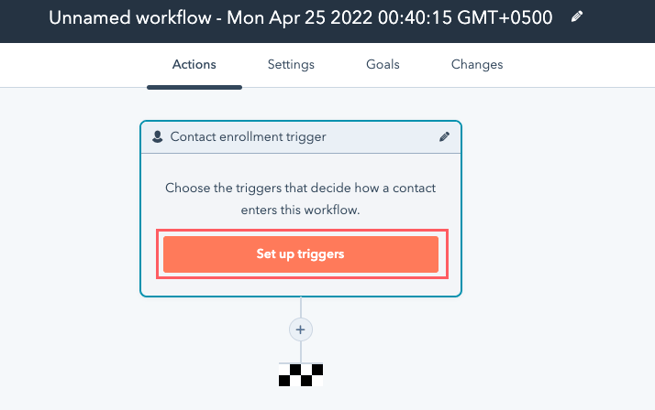
- First of all, you will need to Set up triggers for the workflow to begin.
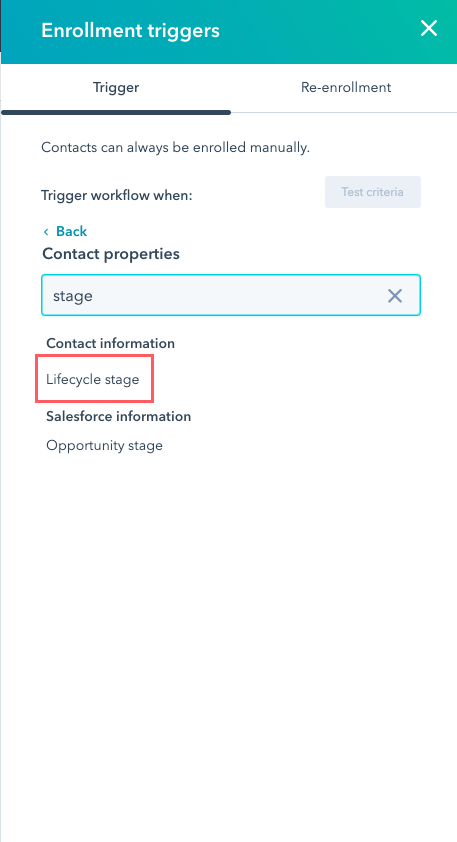
- Select Contact properties as the Filter type.
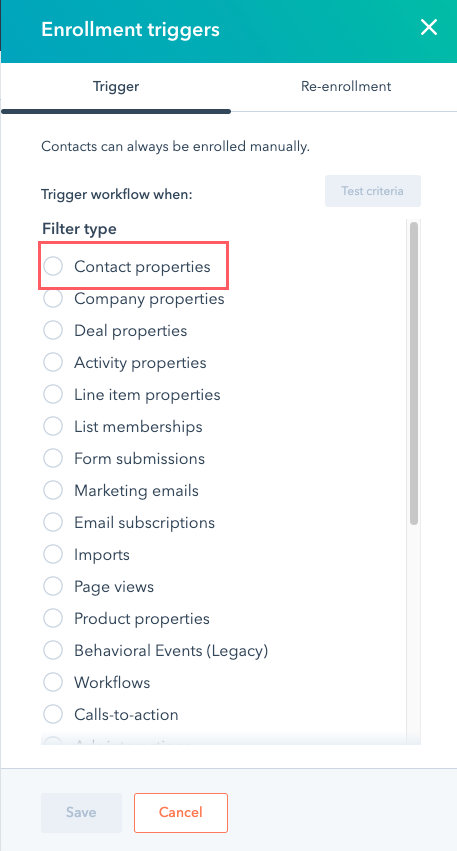
- Set Lifecycle stage as the Contact information.
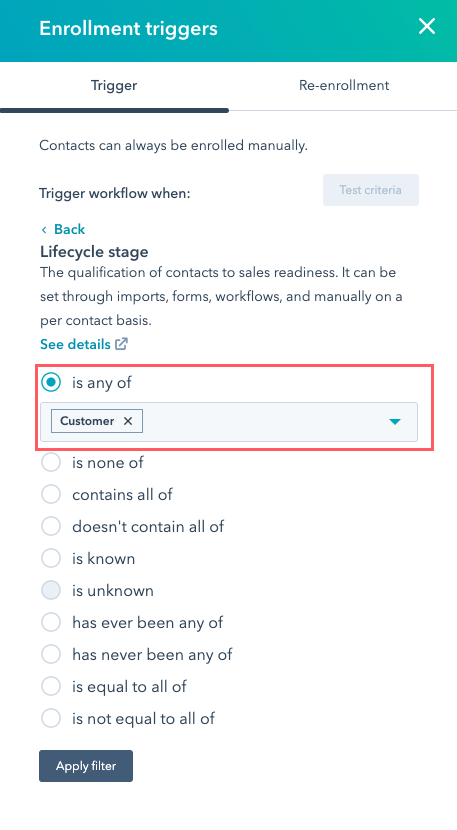
- For the details, set the contact information as of any Customer.
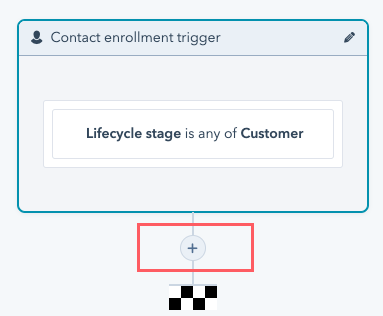
- Now, that the trigger is set, click on + to add the action regards that trigger.
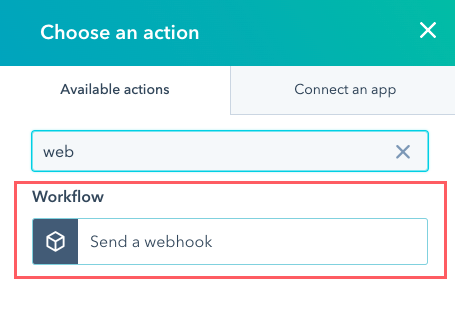
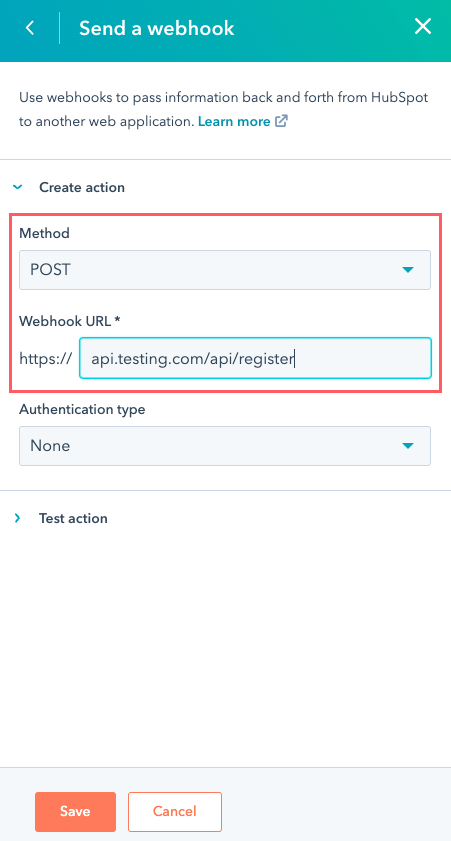
- You can add action to it in two ways. First of all, you can select Send a webhook.
- Enter the Webhook URL as per your choice which will form as the link between both apps.
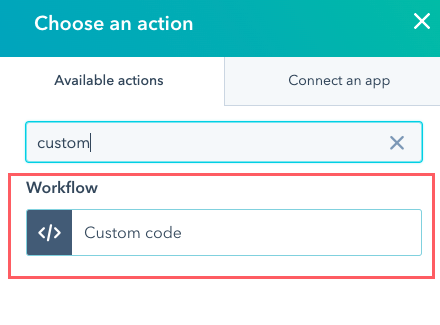
- The second option is to opt for a Custom code.
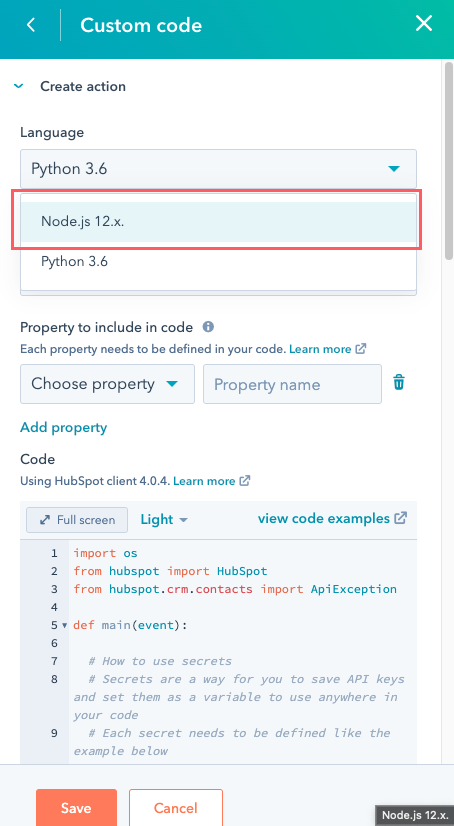
- You can select the language of your code from Python and Node.js. Write your code. And, voila it’s done.
Conclusion
In this article, we looked into creating a HubSpot app on Heroku. We sent the data from the Heroku application to create a contact in HubSpot CRM using APIs. And, the data was sent from HubSpot back to Heroku using workflows.