HubSpot is a trusted CRM that streamlines the whole cycle of customer operations in a business. It allows you to manage various elements from a single platform and it is because of its ability to integrate tons of applications smoothly.
However, before you start using your HubSpot, setting up the account defaults is essential as it is a fundamental step in the process. This article covers a few sections about it, including General, Security, Branding, User Defaults, and Currency.
Understanding Account Defaults
HubSpot holds some settings that only individual users can control, like user preferences. But, some settings can be set up collectively for all the users and can assist in ensuring consistency throughout the organization. These settings are known as Account Defaults.
You can set up various elements as account defaults, including language, region, currencies, branding kit, time zone, and more.
To navigate to the Account Defaults page, follow the steps below:
1. Click the gear icon in the top right of your user dashboard.
.jpg)
2. From the sidebar, select Account Defaults under Account Setup.
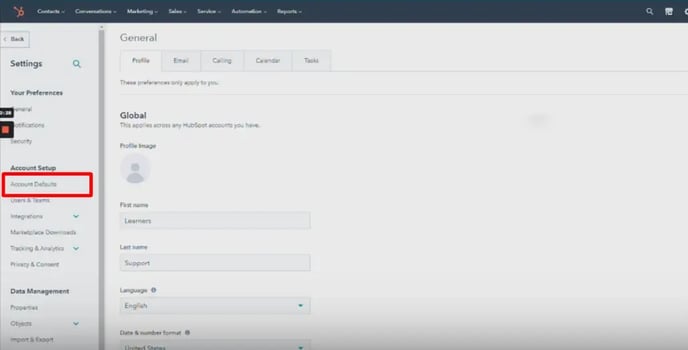
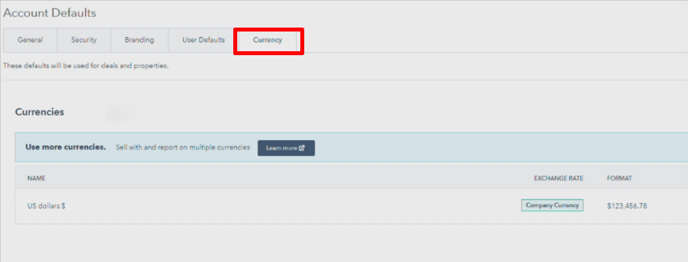
3. The Account Defaults page displays as shown below. It has five tabs: General, Security, Branding, User Defaults, and Currency.
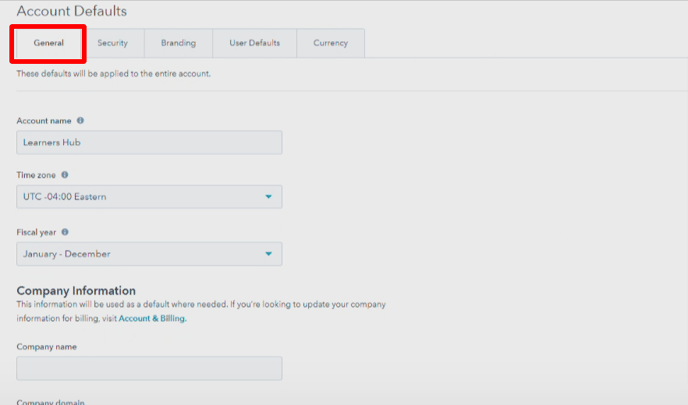
General
Under the Account Defaults, the first tab is General which allows you to set up the generic company information as default for all users. Under this tab, you can set up the Account name, Time zone, Fiscal year, and Company Information.
Follow the steps below to set it up:
1. Under the tab, you will first find three fields: Account name, Time zone, and Fiscal year as shown in the image below. You can set these fields as per requirement:
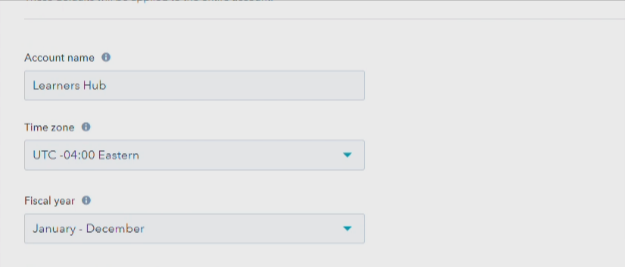
Account name - It's usually your company’s name or domain, but can be anything else too as per your choice.
Time zone - You can select the time zone your business operates in from the dropdown.
Fiscal year - You can select your company’s financial year from the dropdown.
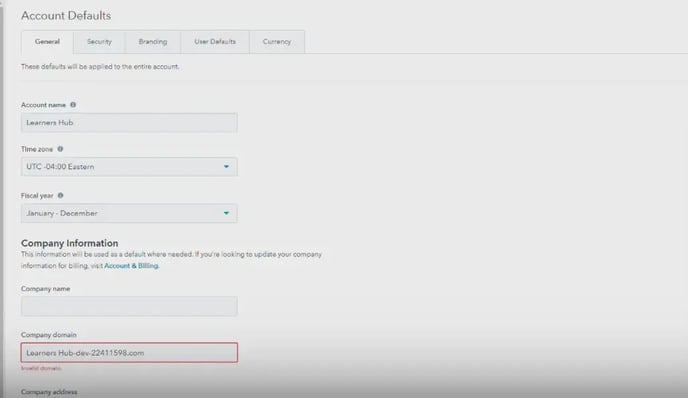
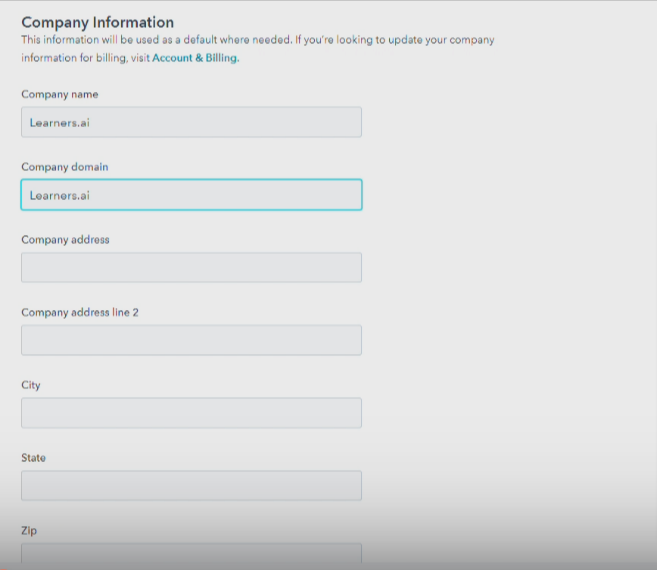
2. You can also set up the information of the company in the fields of Company name, Company domain, Company address, Company address line 2, City, State, and Zip.
3. Save the settings.
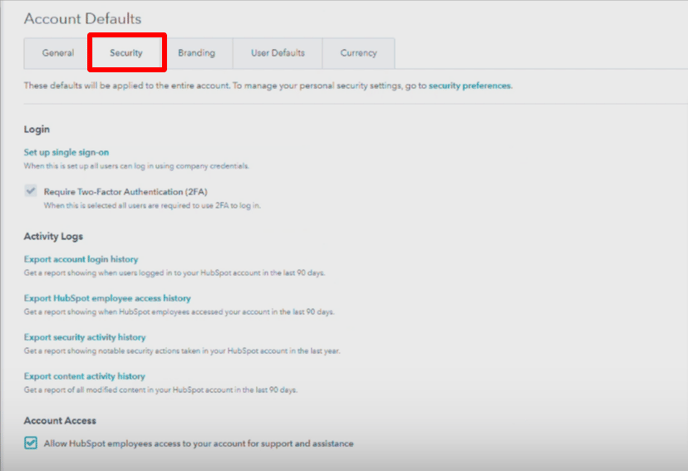
Security
The second tab is Security which allows you to set up the overall security of all the users’ accounts. This tab has the settings for Login, Activity Logs, and Account Access.
Follow the steps below to set it up:
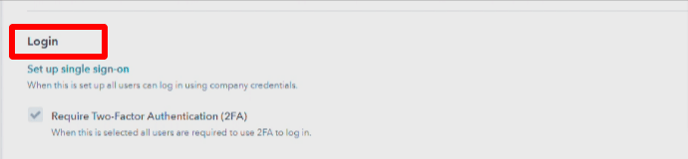
1. You can enable a single sign-on for the users that allow them to log in to the account using the company credentials. It's recommended to have the Two-factor Authentication enabled as it adds a layer of security to the usual login process.
2. Activity Logs allow you to export reports of different elements to access them for security. It can help you in identifying vulnerable areas and take action accordingly.
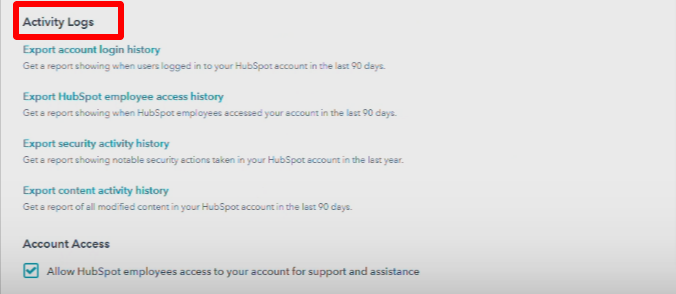
3. You can enable the Account Access option if you want to keep your account accessible to the team for support.

4. Save the settings.
Branding
The third tab is Branding which allows you to set up the brand kit of your company. You can add various elements to make it a complete kit.
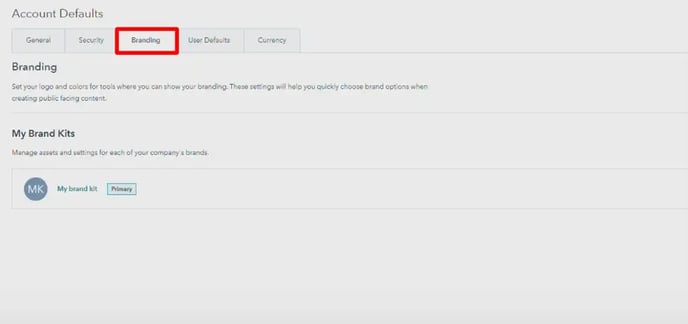
Click on My brand kit to create a new kit. It holds the options of Logos, Colors, and Themes.

Logos
You can add your company logo in this section. Remember, you can add multiple logos, as per requirement.
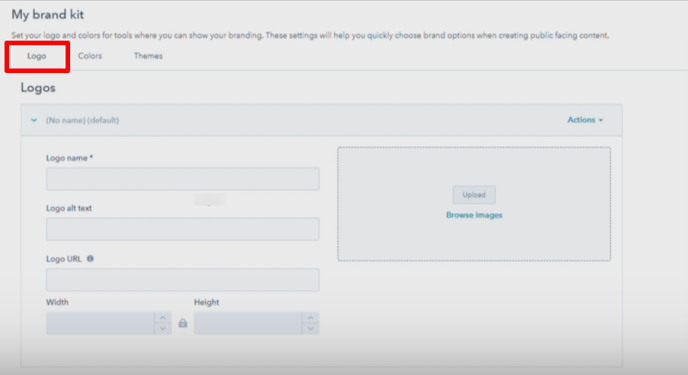
The steps are as follows:
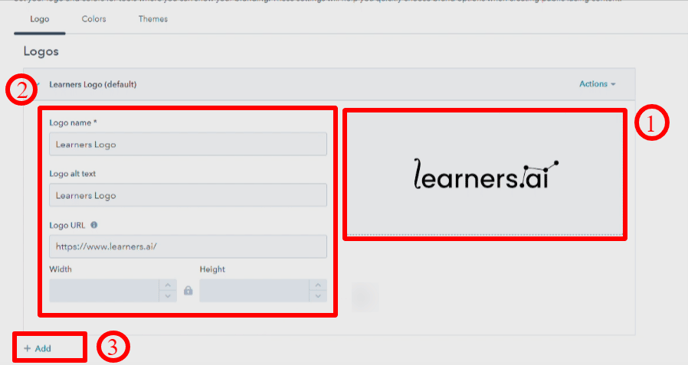
1. Upload your logo in the image section.
2. Enter the logo information including Logo name, Logo alt text (alternative text for when the element itself isn't rendered), Logo URL (the URL which the logo should direct to upon click), Width, and Height.
3. You can add more logos by clicking on + Add.
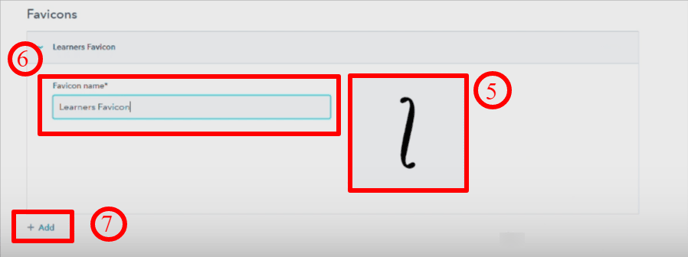
4. You can also add the favicons under the Favicons section by clicking on + Add.

5. Upload the favicon in the image section.
6. Add the Favicon name.
7. You can add multiple favicons by clicking on + Add.
Colors
You can add your company’s colors in this section. It allows you to add the primary and secondary colors of your brand.
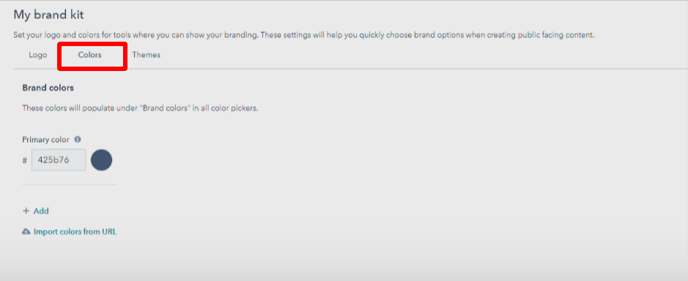
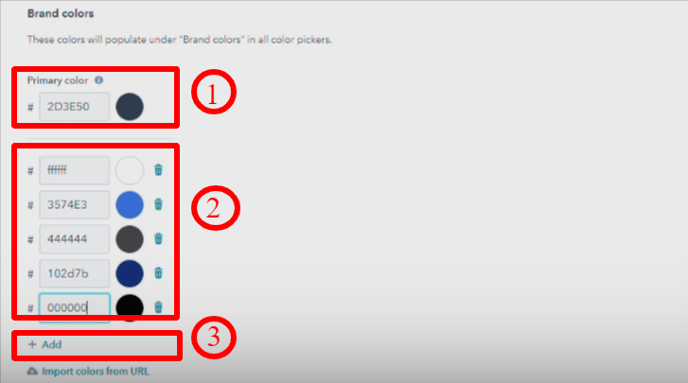
The steps are as follows:
1. Add the Primary color of your company.
2. You can add multiple secondary colors to the brand kit.
3. You can add further secondary colors by clicking on + Add.
Themes
You can create and set a theme for your company as well. It adds consistency to the design throughout the platform.
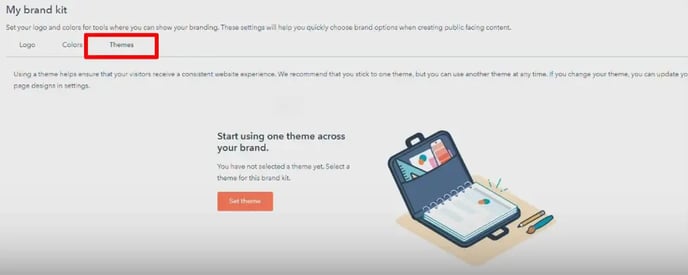
The steps are as follows:
1. Click on the Set theme button to start setting up the theme.
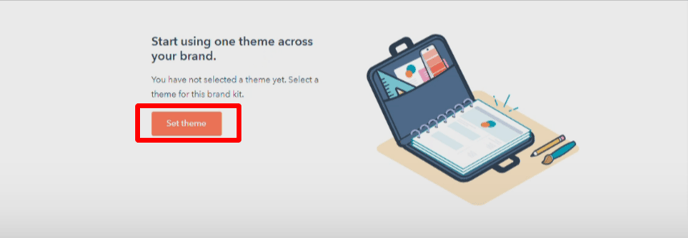
2. It will take you to a page with a collection of themes. You can set any theme by clicking on the Set as active theme button.

3. The theme will appear under the Theme section. You can edit the theme by clicking on the Actions button and selecting Edit from the dropdown.
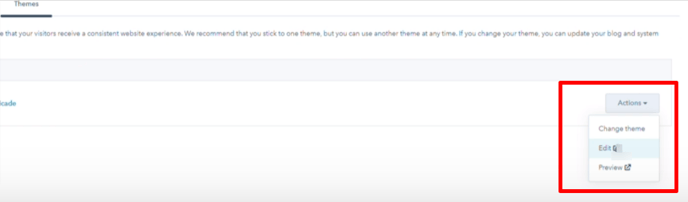
4. It will take you to the theme editing page where you can edit the color and design as per requirements.

5. Remember to save the settings by clicking on the Save button.
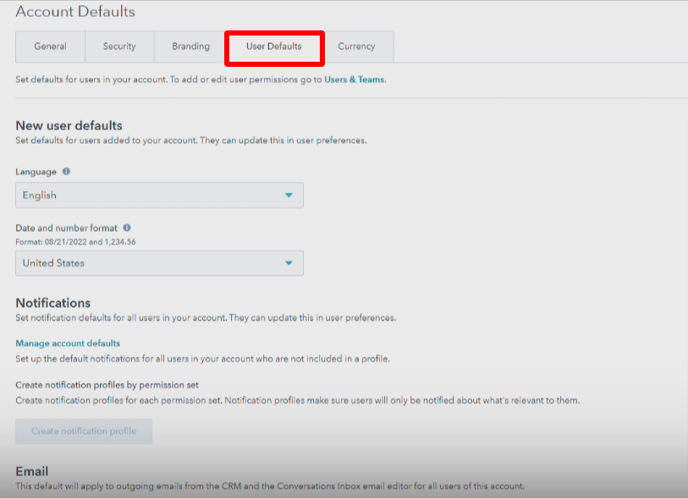
User Defaults
The fourth tab is User Defaults which allows you to set up the settings of New user defaults, Notifications, and Email.
Follow the steps below to set up the settings:
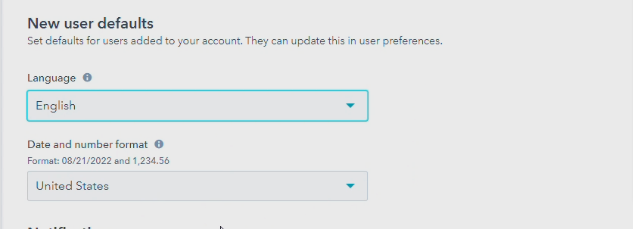
1. You can select the Language and Date and number format for the new users from the dropdown. These settings will be enabled for the new users added to your account, automatically.
2. Under the Notifications, you can choose the settings regards how often and from whom would you like to receive the notifications.
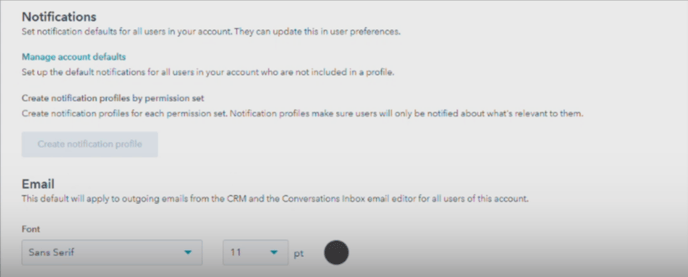
3. Lastly, you can set up the Font and size of the text for all the emails that will be sent out from the HubSpot CRM.

4. Remember to save the changes by clicking on the Save button.
Currency
The last tab is Currency which allows you to add one or more currencies into the account which will be used for all the financial calculations and reports.
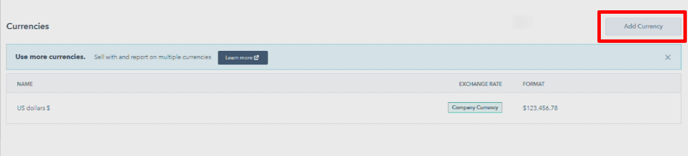
Follow the steps below to set up the settings:
1. To add the currency, click on Add Currency button.
2. Select the currency from the dropdown.
3. Add the Exchange rate. Remember, the exchange rate is not generated automatically so you need to add it manually.
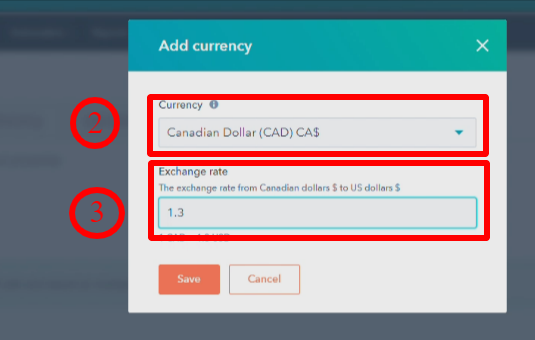
4. Click on Save.
5. The currency will be added to the list. You can choose to add more currencies by repeating the above-mentioned steps.

All in all, this was about the Account Defaults in HubSpot which acts as a fundamental step in starting work on HubSpot. The article covered a detailed and step-by-step description of all the five settings of Account Defaults, including General, Security, Branding, User Defaults, and Currencies.
Side Note: In case of any confusion or requirement of assistance, you can contact us. We’ll be more than happy to help :)